

Always Learning
We were on a mission.
Last October we drove to BC to take a look at Armadillo Trailers in Enderby and just for fun we thought we’d also head to Logan Lake to see the summer home of the sled dogs that run near Lake Louise with KingMik Dog Sled Tours. Several dogs were ready for retirement and we thought it wouldn’t hurt to just take a ‘look’ at them. I’d been longing to get a dog but I wasn’t sure about getting a 65 lb. sled dog. After all, sled dogs are agile and bred to be runners. We weren’t sure we were ready for that.
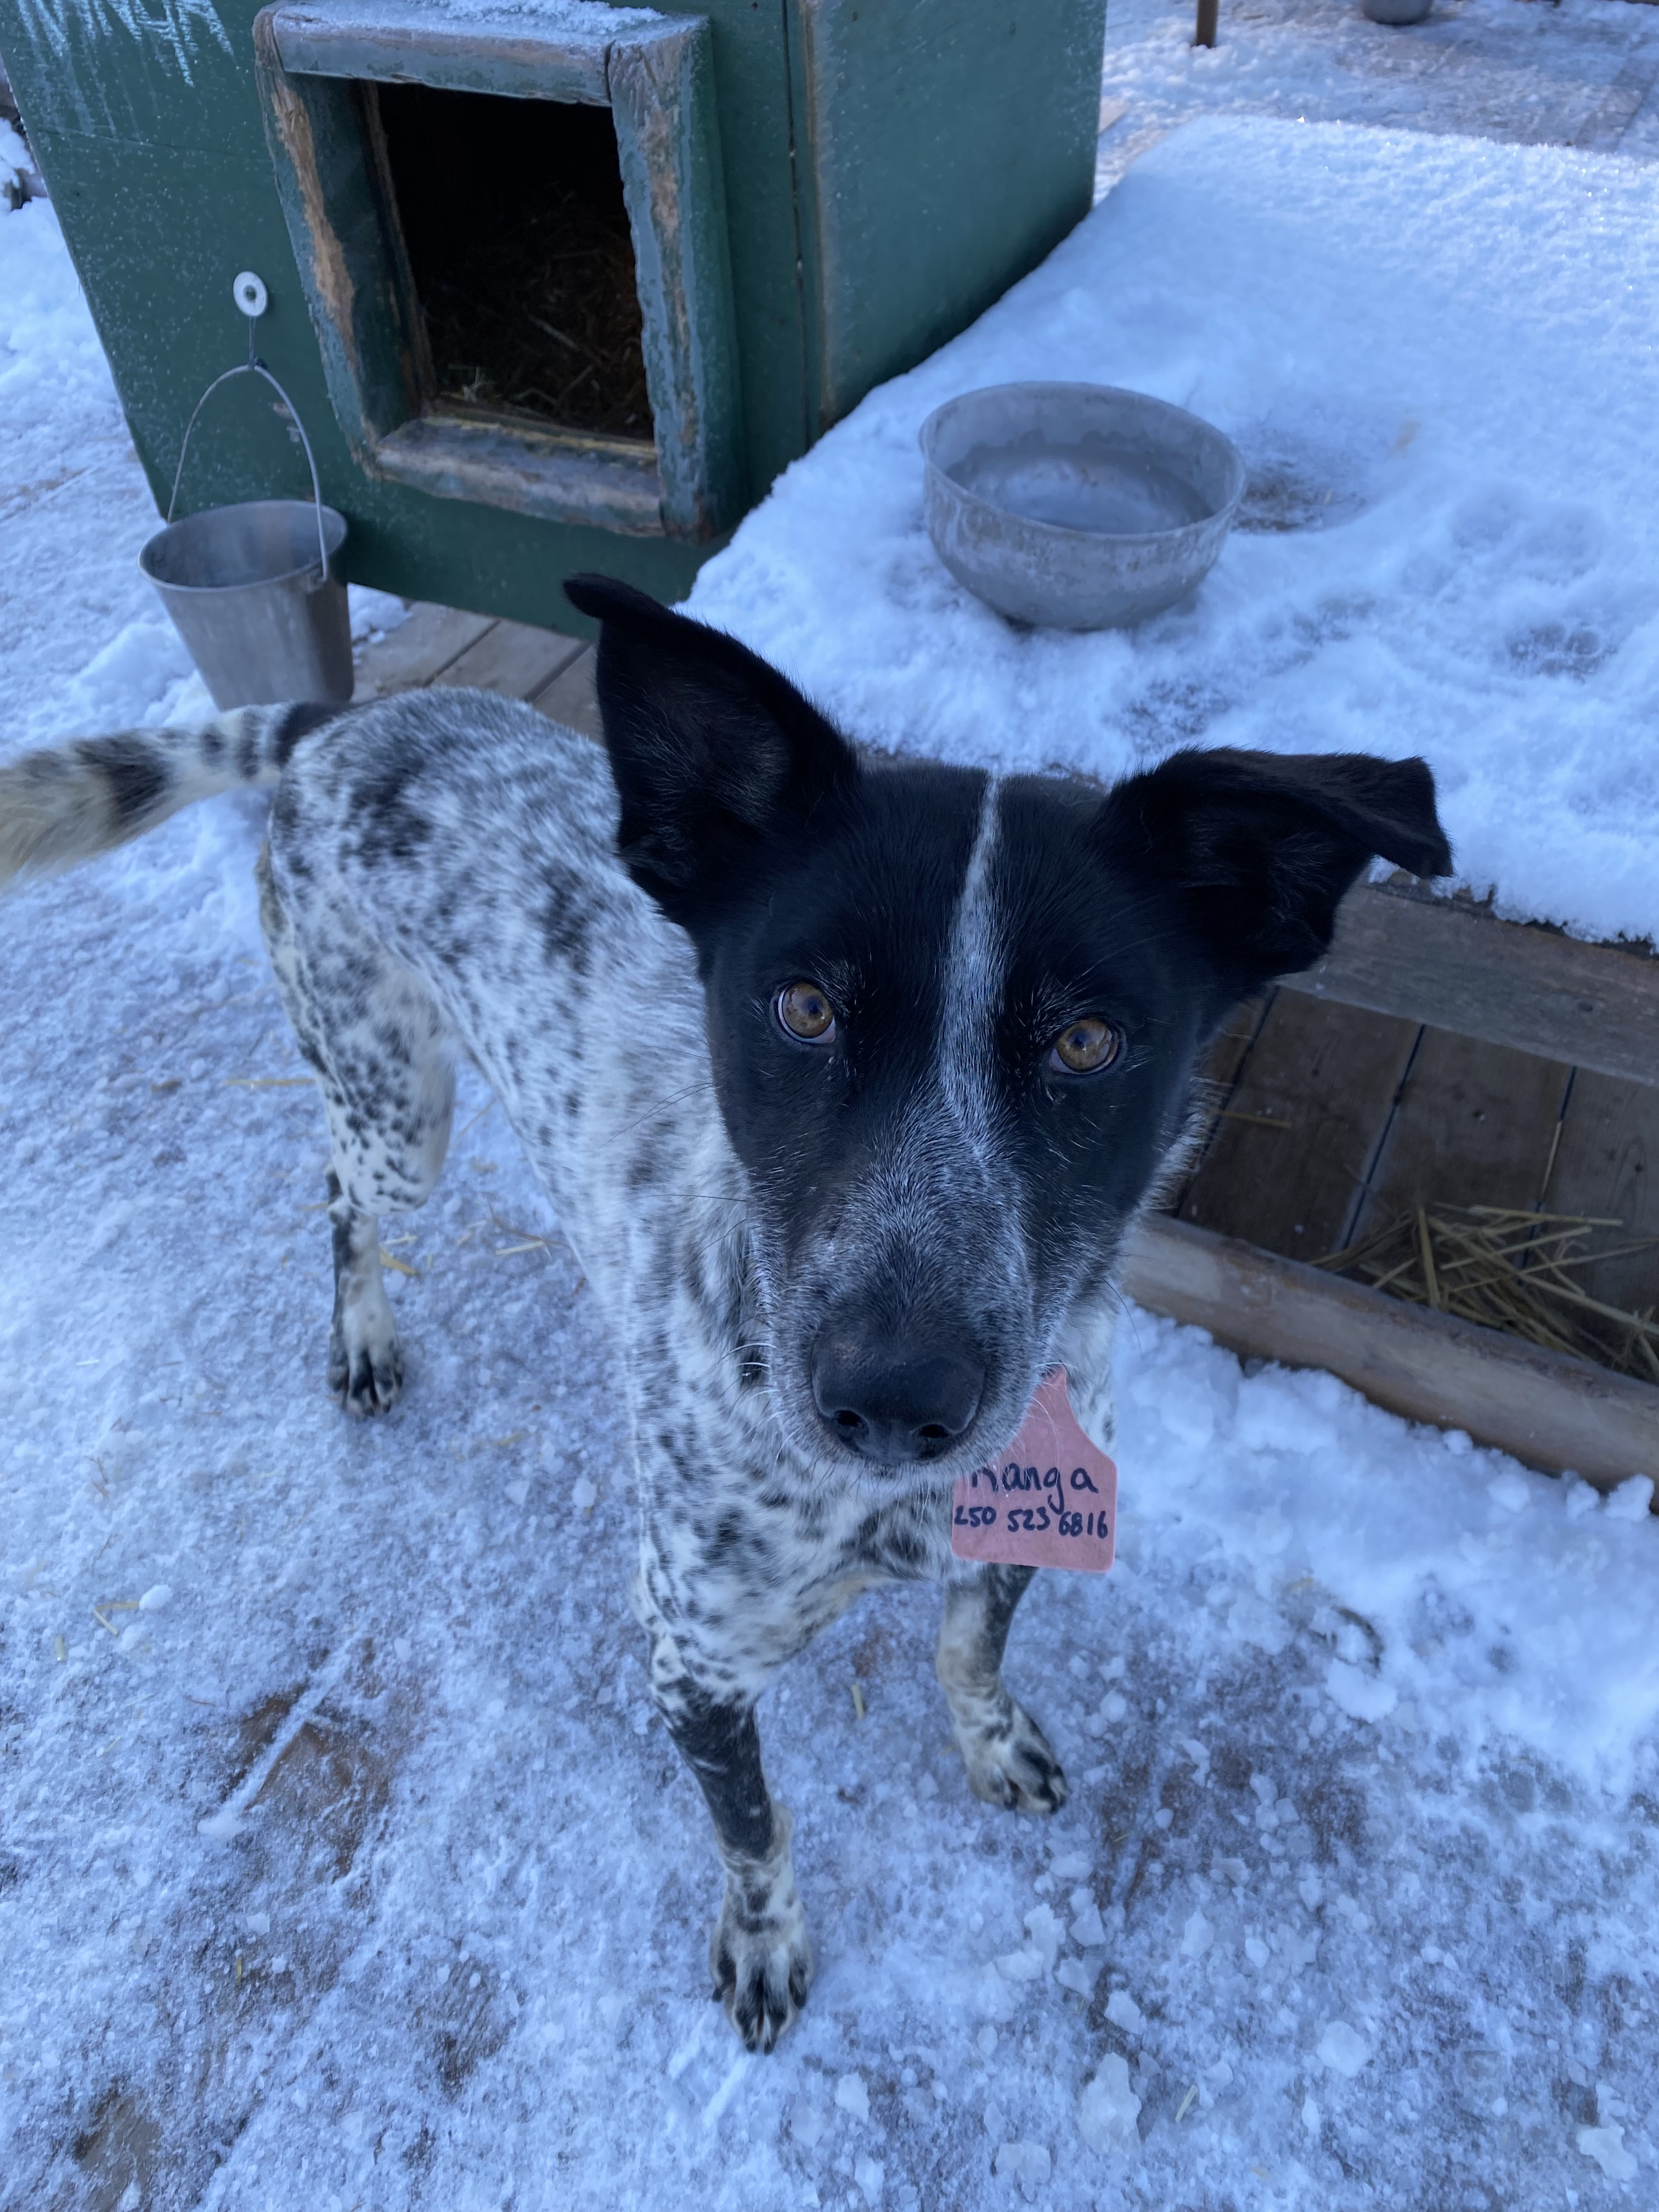
Take a look at that pup! Of course we had to bring Nanga Parbat aka Kanga, the retired sled dog home with us.
Nanga Parbat?? What kind of name is that? Well the joy of adopting a dog is that he comes with a story and we discovered that our new pet had exciting tales to tell.
Kanga was born near Carrot Creek, Alaska. He lived with the teams that were part part of Martin Buser’s Happy Trails Kennels. He and his siblings were named after Himalayan Mountains and so he came to be called, Nanga Parbat. This was the name on his collar wore when he came to us. Meagan from KingMic Dog Sled Tours changed his name to Kanga. Perfect! Kanga Kobewka sounded just right to us.
As a two year old this puppy ran in the Iditarod in 2016 with musher Tim Pappas. How exciting is that? A pup who lived this exciting life outdoors with his pack would take time to adjust to his new home. Would we have to house train him? Would he pull us off our feet when we walked icy city trails this winter? Would he get attached to us?
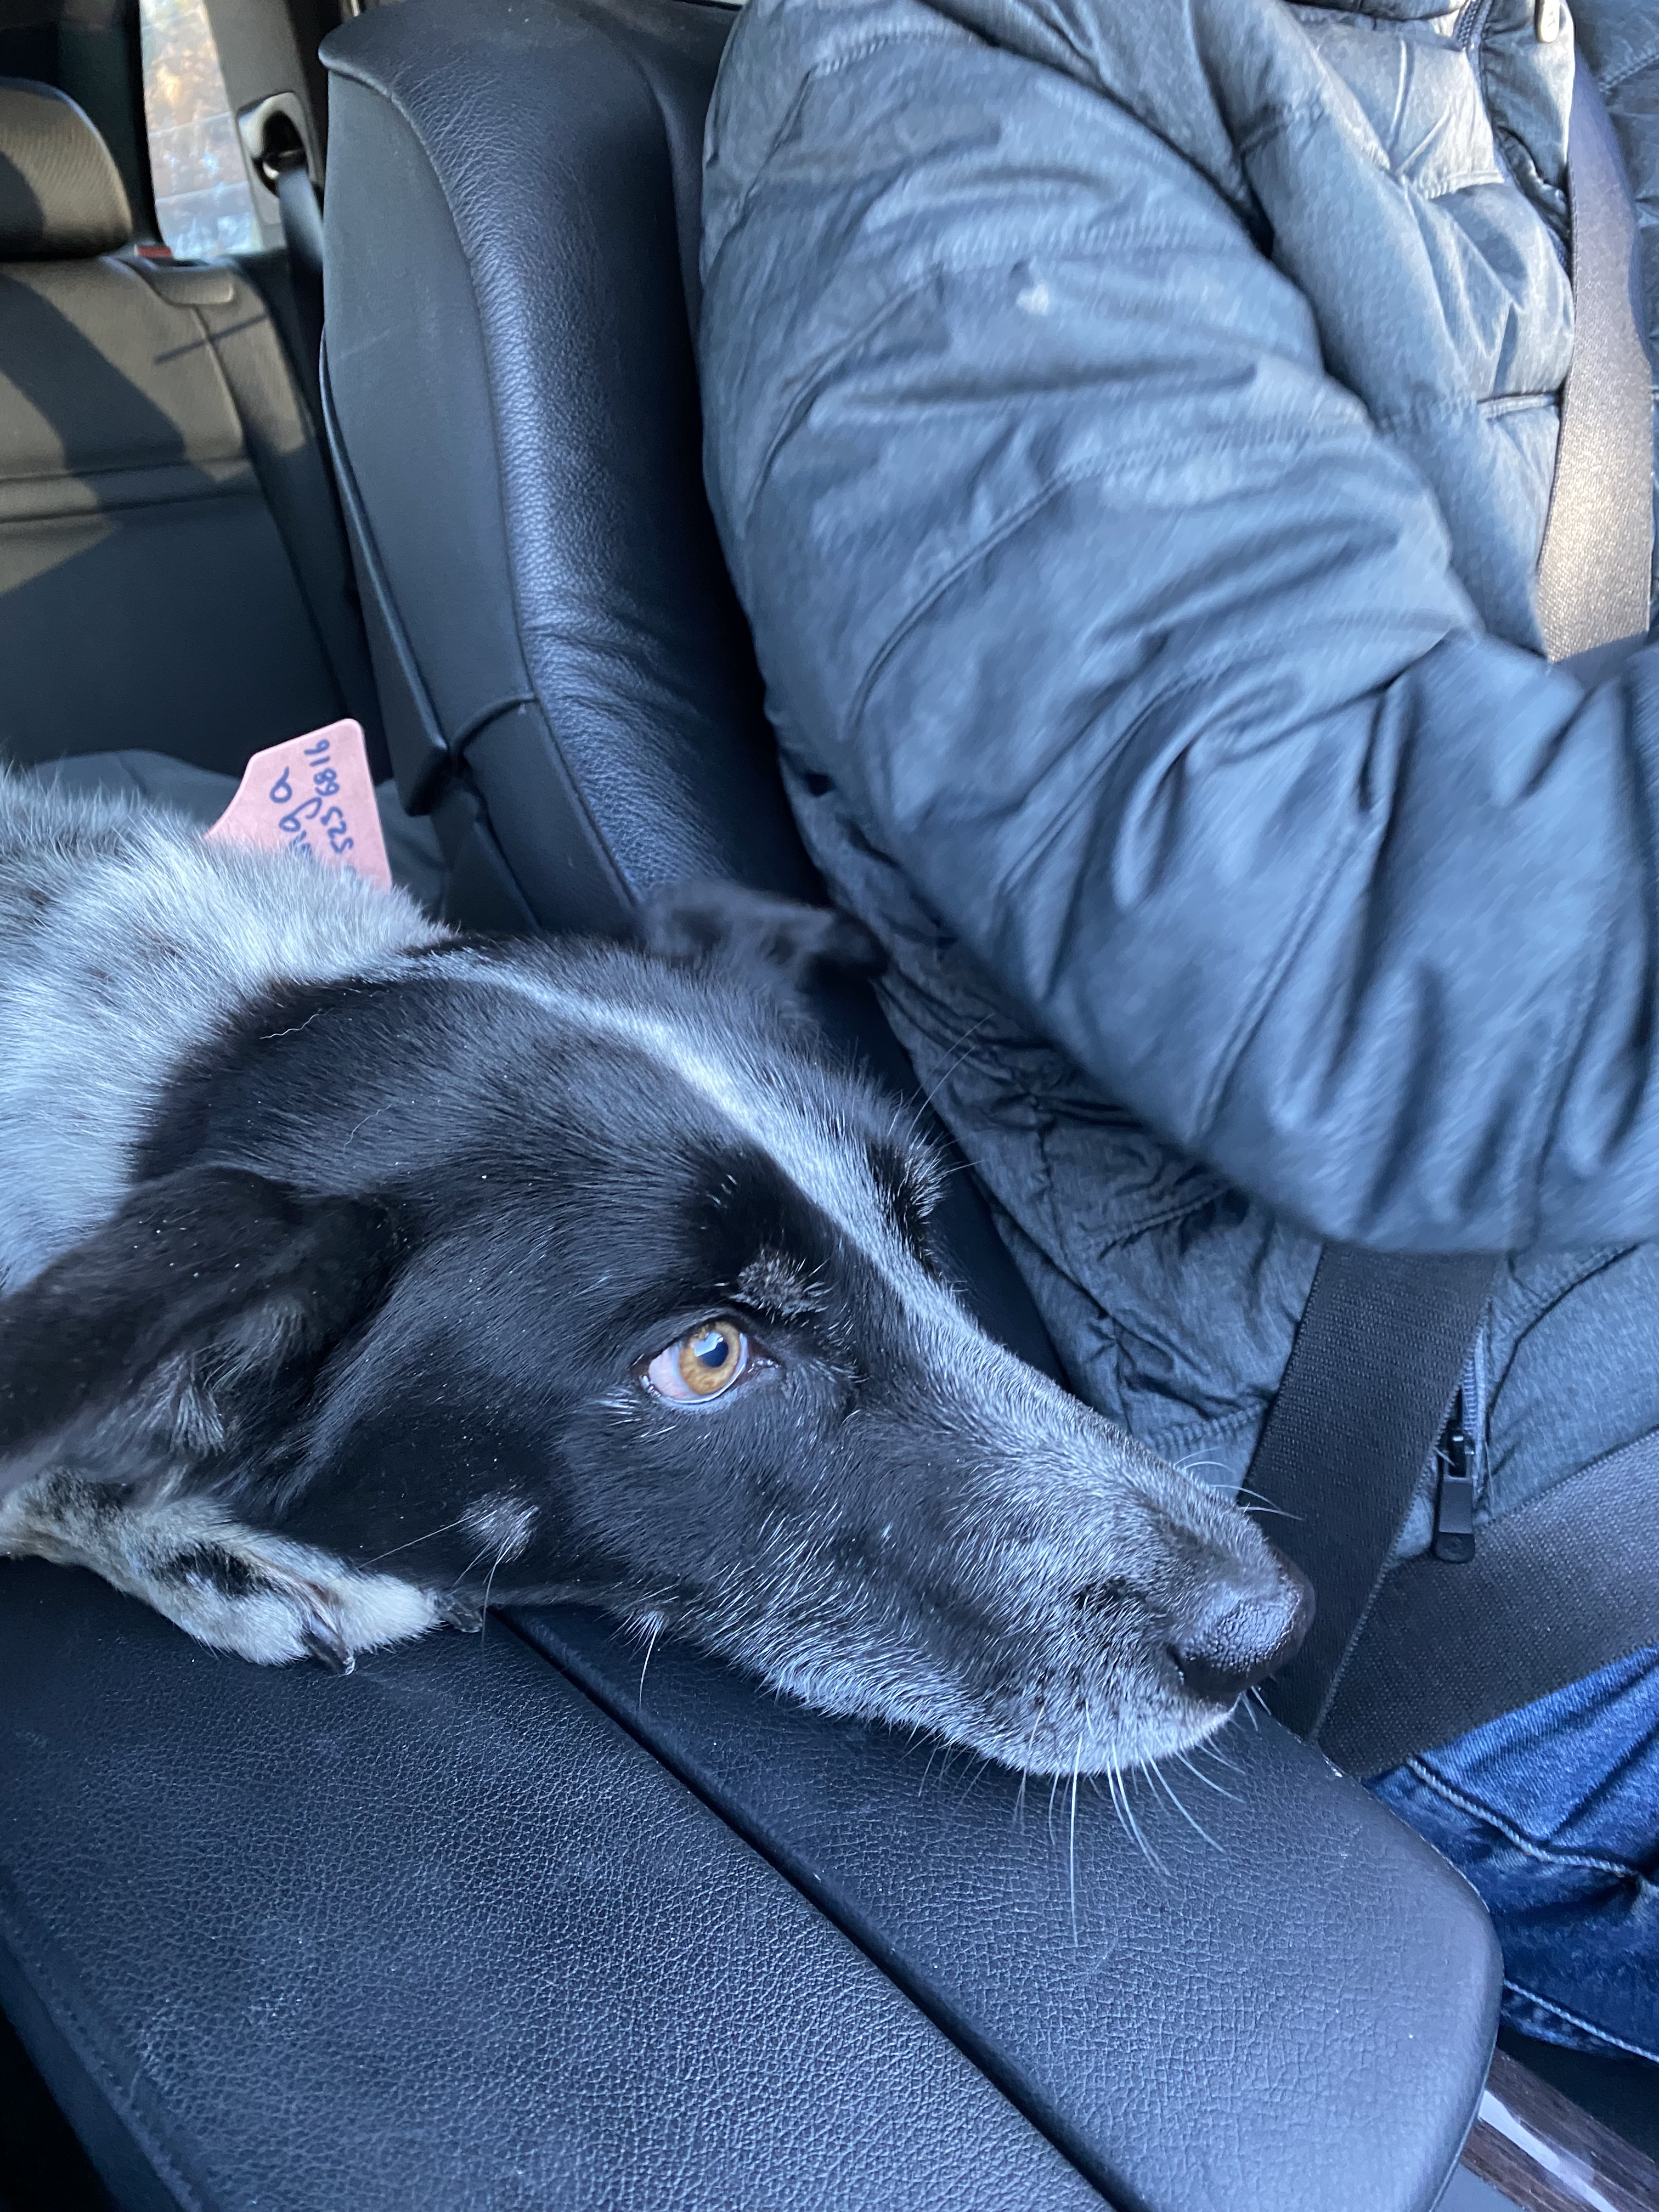
After a long trip Kanga arrived at his new home. Soon he found the perfect spot for a retired pet.
We decided to end our day watching a movie about … well, dogs of course! This truly confused Kanga as you will see here.
Kanga is an Alaskan Husky – which means he is a working dog, bred for endurance, speed, intelligence, and the ability to be a team player. I can happily say that Kanga is definitely on our team! He was easy to leash train and sticks right next to us when we head out for walks. He understood house training with no hints from us. His biggest challenge was managing stairs, something he now does with ease. Does he pull? Why yes, he does, he pulls me when I go cross country skiing and I now have a harness just for that purpose. Bonus!
I am tidying up the resources I brought home last June… when I officially retired from teaching. What a task! I am reminded of students, events, colleagues, and lessons, as I cull and purge a vast collection of material. I can’t help but reflect on the knowledge I’ve gained as an educator for 25+ years. And since my heart is still with students as they learn and grow, I’m sharing ideas with you.
Do you have a growing reader in your home? Are you spending time reading together? What a delightful and special time. I am hoping that it is never ‘homework’, and instead a time to enjoy a book and encourage your reader.
So where to begin? Begin with a book your child wants to read. Then, take a look at the book together. Examine the front and back cover, read the title aloud, view the pictures, scan the pages. Are you curious about anything? What questions or predictions do you or your child have as you look over the book.
What kinds of things can you do to support your young reader?
If that is the case continue your reading together in this supportive way.
And once you have finished the book? Now is the time to talk, listen, and talk some more because, “Reading and writing float on a sea of talk.” says James Britton literacy and language researcher. Together, retell the story, make connections to the story or express your wonders and questions.
What a lovely way to pass the time!
Sitting in a staff meeting… Teachers seated in the audience, a select group of people at the front leading the meeting dispensing information. Information that may be important to know yet an inefficient way to accomplish the task.
That day I remember one statement – emphatically declared that sat like an irritating pebble in my shoe, “It’s about learning, it’s not about teaching.”
This statement was not unpacked at the time and I wondered what it meant for me as an educator. I was annoyed. After all, I am a teacher! Isn’t it my job to teach?
I’ve come a long way since that day and so have staff meetings, which are now opportunities for professional development.
What is the real work of an educator? The following quote is from the book UDL and Blended Learning Thriving in Flexible Learning Landscapes, by Katie Novak and Catlin Tucker which describes the role of today’s educator:
“As educators we have the power and privilege to design learning experiences that help students learn how to learn. The three UDL principals were designed to ensure that all students become expert learners. This is completely transformative because, in the past the main goal of school was teaching content. Through UDL and blended learning we shift our focus from teaching content to teaching learning. Page 149
What is UDL – Universal Design for Learning?
The first chapter of this book explains the 3 principles of UDL and provides three questions to ask as educators.
Universal design for learning aims to provide multiple means of engagement, multiple means of representation, and multiple means of action, and engagement for all students. That is a lot to unpack too! These three questions drive instructional design:
What is Blended Learning?
With my experience as an online teacher this definition of Blended Learning resonates with me. Blended Learning gives students the opportunity to have control over the time and place, pace and path, of their learning. Technology has become increasingly accessible, devices and online tools have given students greater scope, creativity, and flexibility in the ways they learn. It is this creativity and opportunities for out of the box thinking that hooked me when I designed lessons online.
UDL and Blended Learning Thriving in Flexible Learning Landscapes, by Katie Novak and Catlin Tucker will expand your understanding of these ideas and give you practical examples of how to make this work in your setting. It’s the kind of book that makes me nod in agreement and reflect on my own teaching practices. BlendED Alberta is currently hosting an online book study; we are on week 4 out of 5 weeks. (Tuesday, March 1, @ 7:00 PM. it is not too late if you want to join us.). Check our website.
If that is not an option, there is an even more exciting opportunity. Join us for the 2022 BlendED Symposium April 6th to 9th. All sessions are after school hours and on Saturday morning – no supply teacher required! Catlin Tucker is our Keynote speaker Saturday morning.
“It’s about learning, it’s not about teaching.” might just have been a provocation – it is about learning and it is about teaching. It is about shifting our focus. Join us and learn more, at the BlendED Symposium.
This photo captured my imagination immediately.
I’m glad it landed in the collection of family photos. I’ve often wondered about these serious and strong looking individuals with their sheepskin vests, beautiful embroidered shirts and well worn work boots.
Hafia, the young woman in the the top left this photo is the great grandmother of our children. I am sure she treasured this one photo, a memento of the family she would leave behind in Lviv, Ukraine.
She came to Canada and married Jacob Kobewka in the coal mining town of Midlandville, Alberta. She did not speak English and a pastor’s wife helped her learn the language. She had 4 children the eldest was our grandpa, Mike Kobewka. I think of her and wonder about all the challenges she faced raising 4 children in this small, rough town. Sadly she had an early death due to medial conditions that were not treated.
However today I am thinking of the descendants of those other people in the photo. Those who stayed to make a life in Ukraine. In some small way we are connected. I grieve for the people of Ukraine and today, and in the days ahead, I’ll pray for peace.
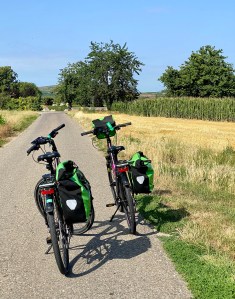
I fly down the trails, I hear a joyful shout as another cyclist approaches, “Happy cycling! And what could be better? Blue sky, yellow leaves, the earthy smell of fall.
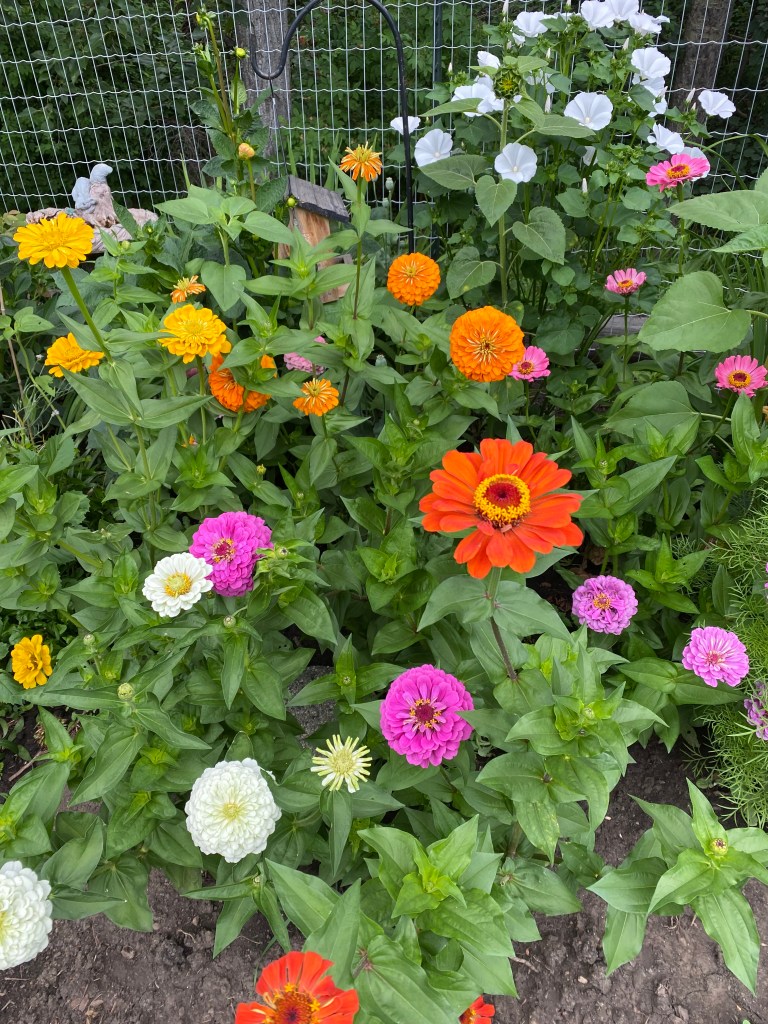
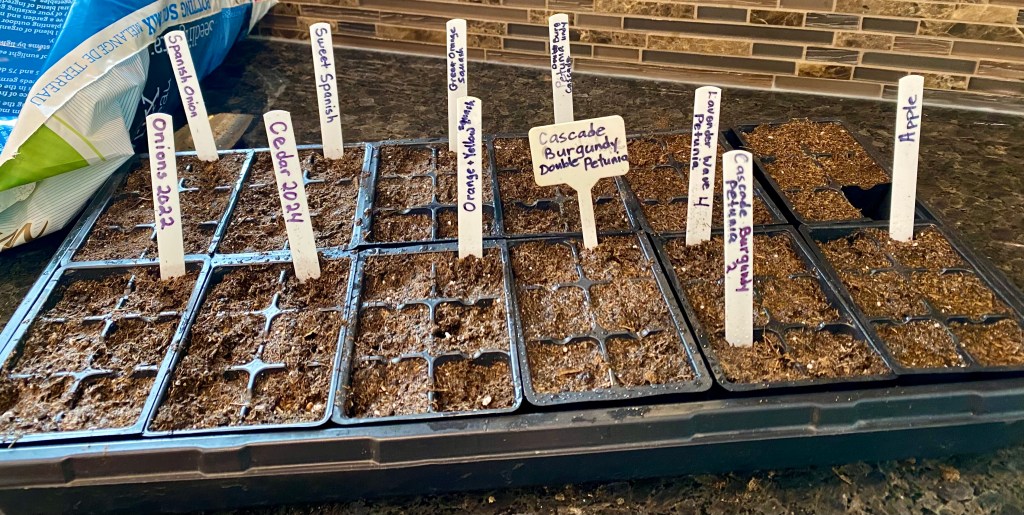
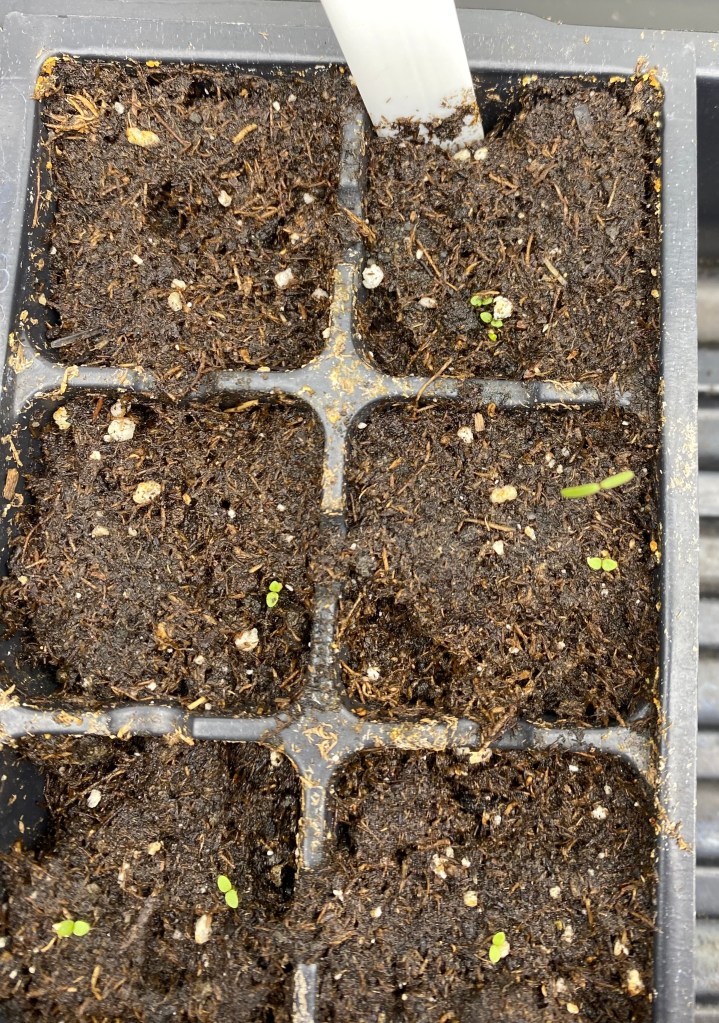
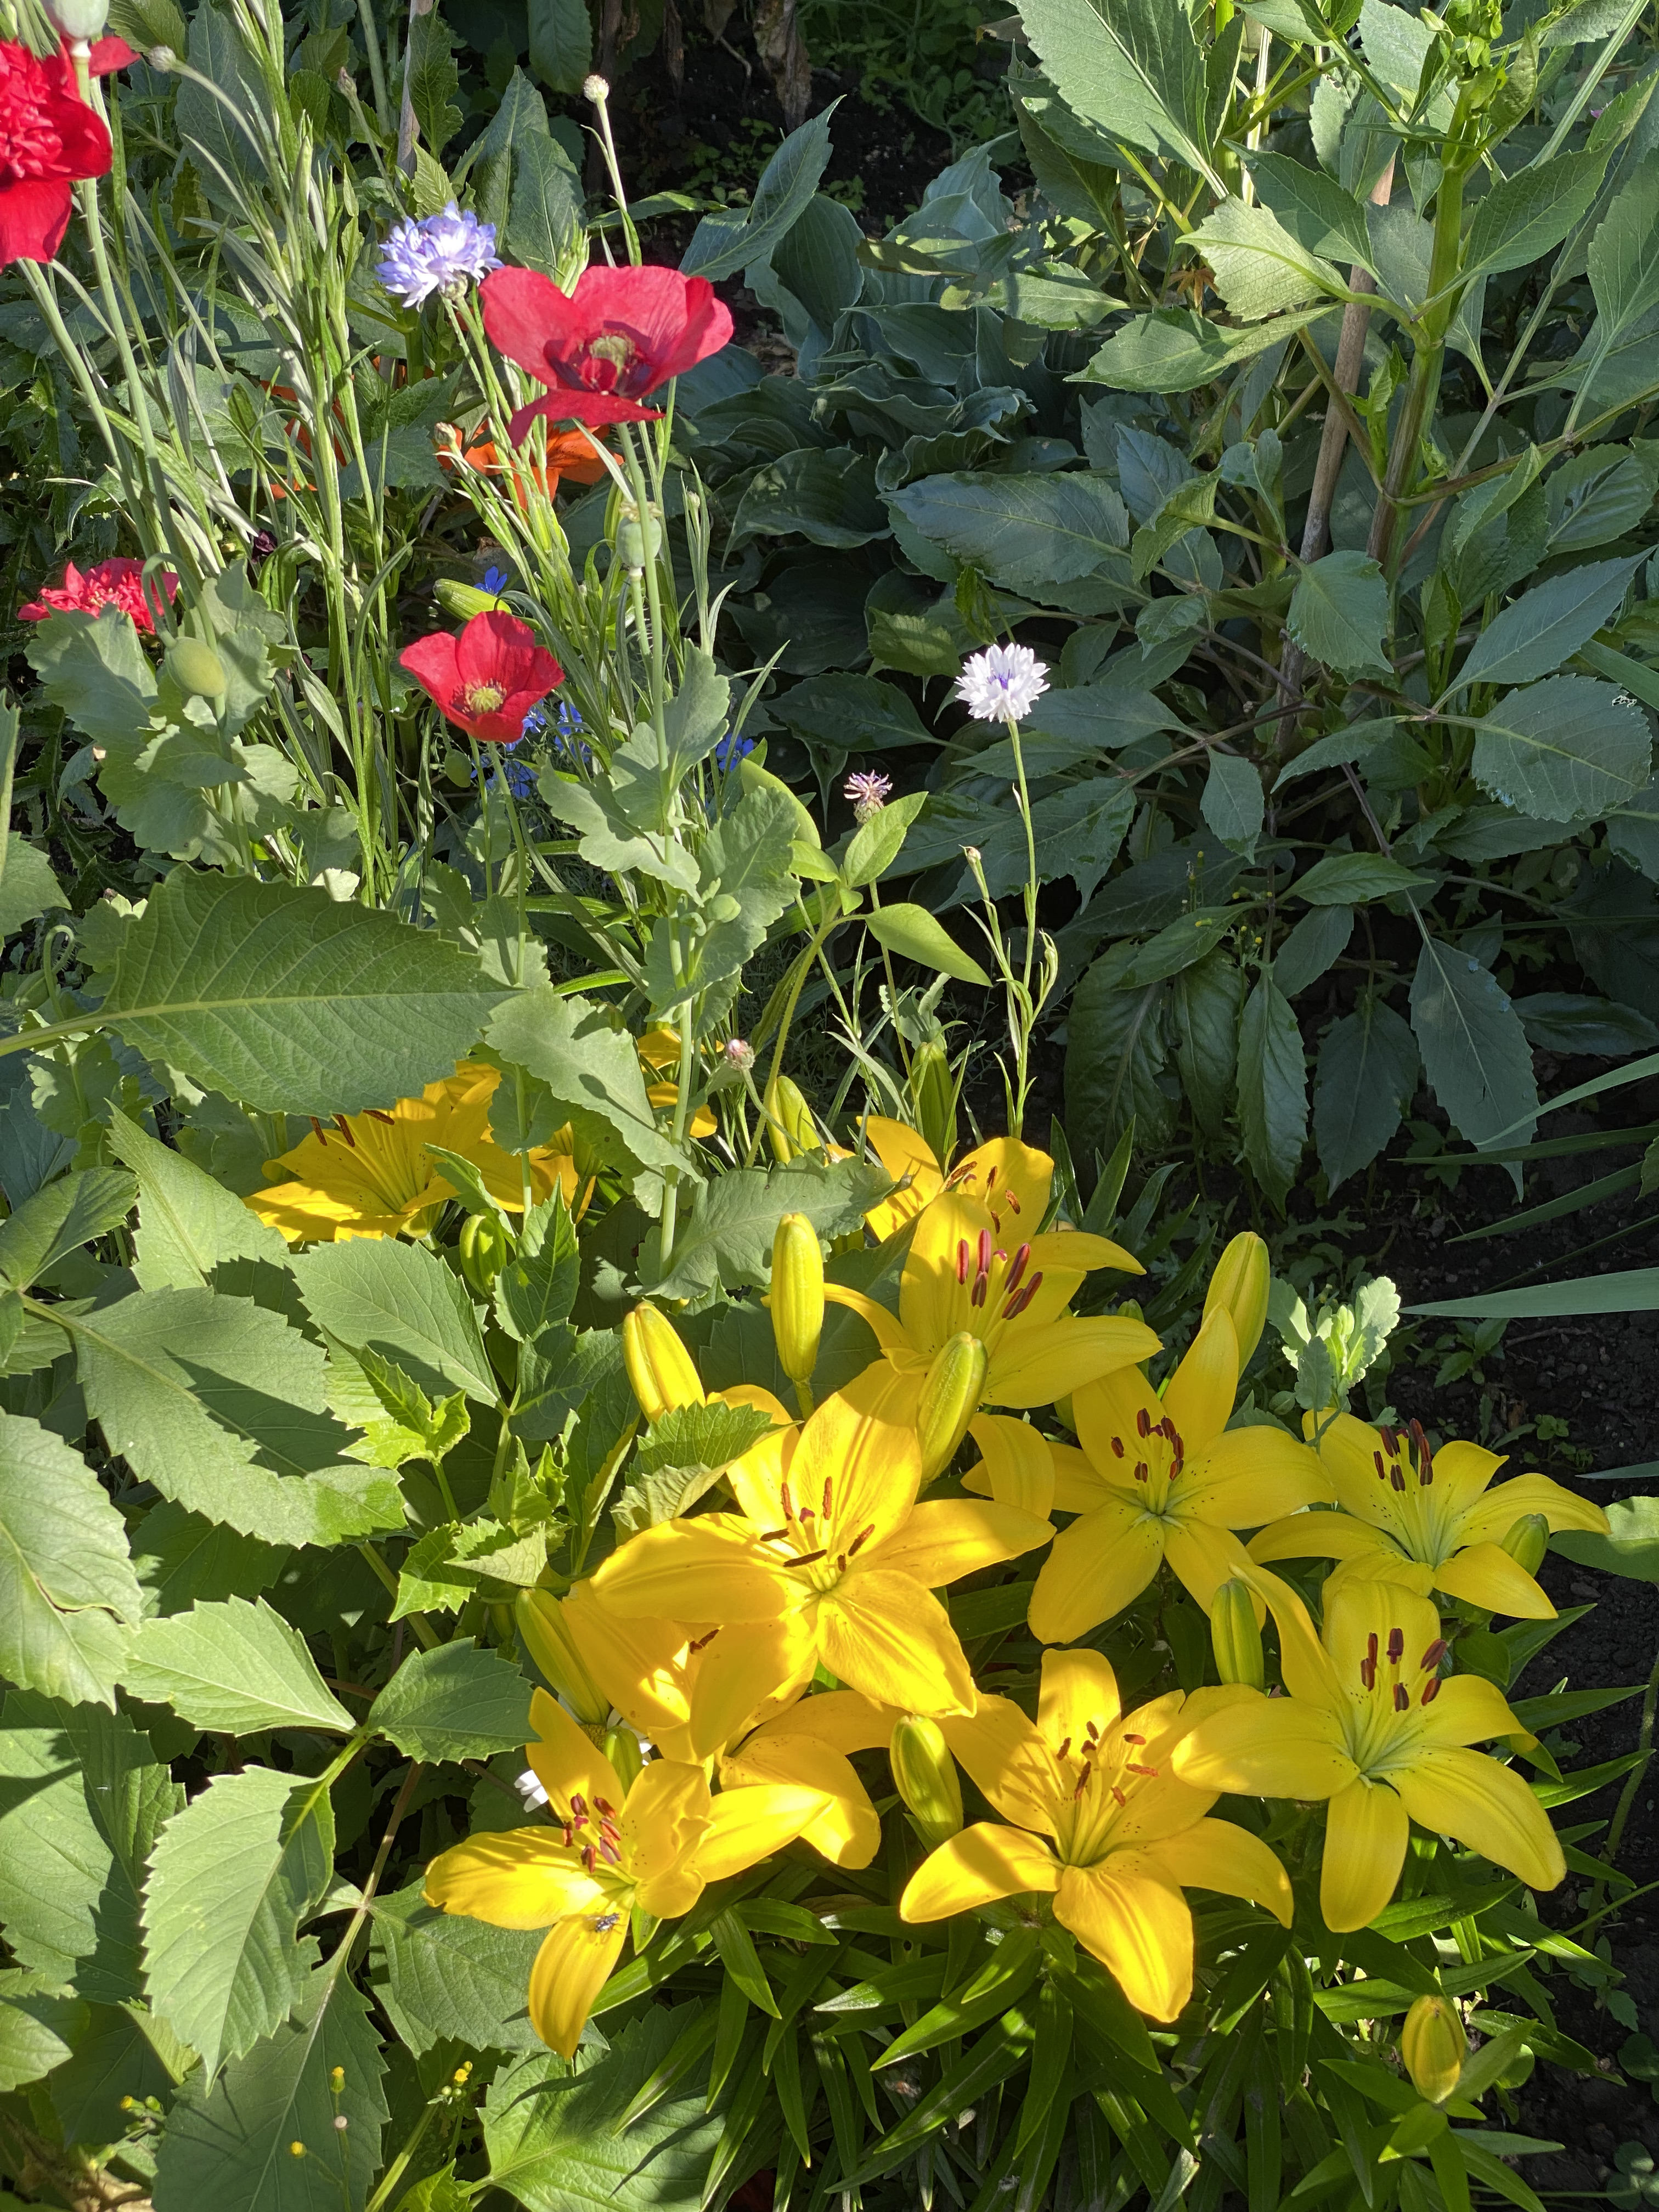
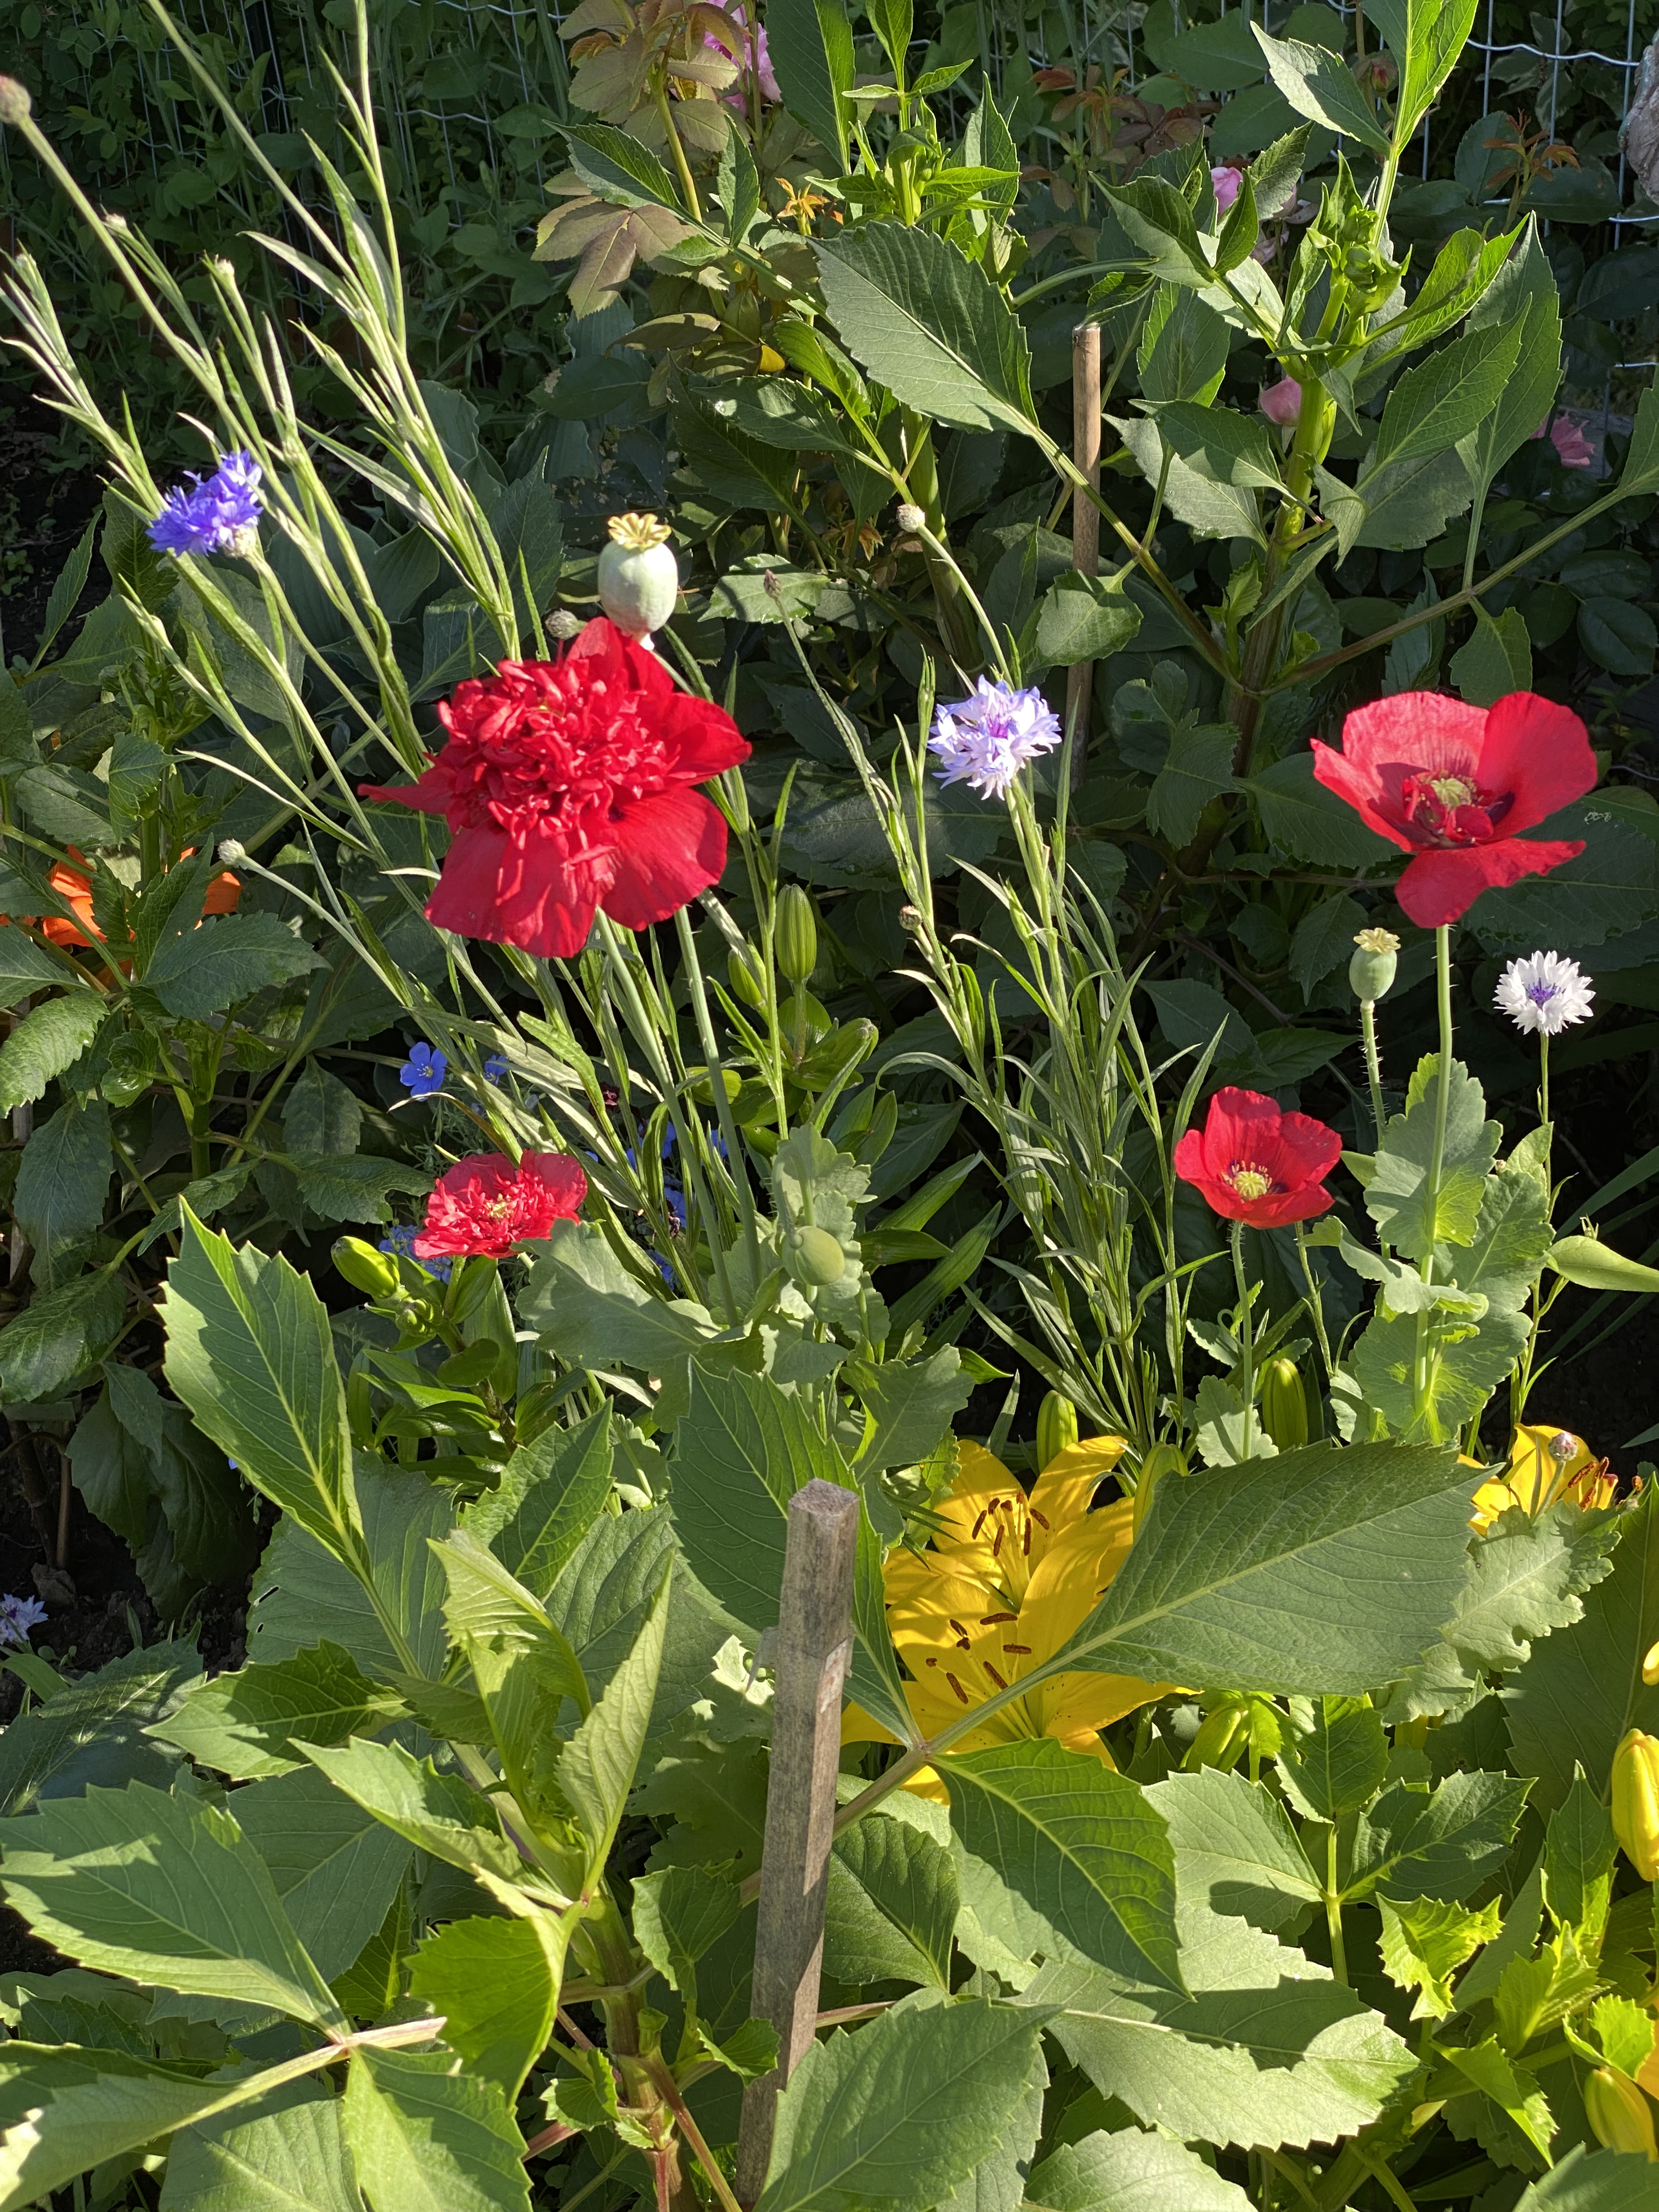
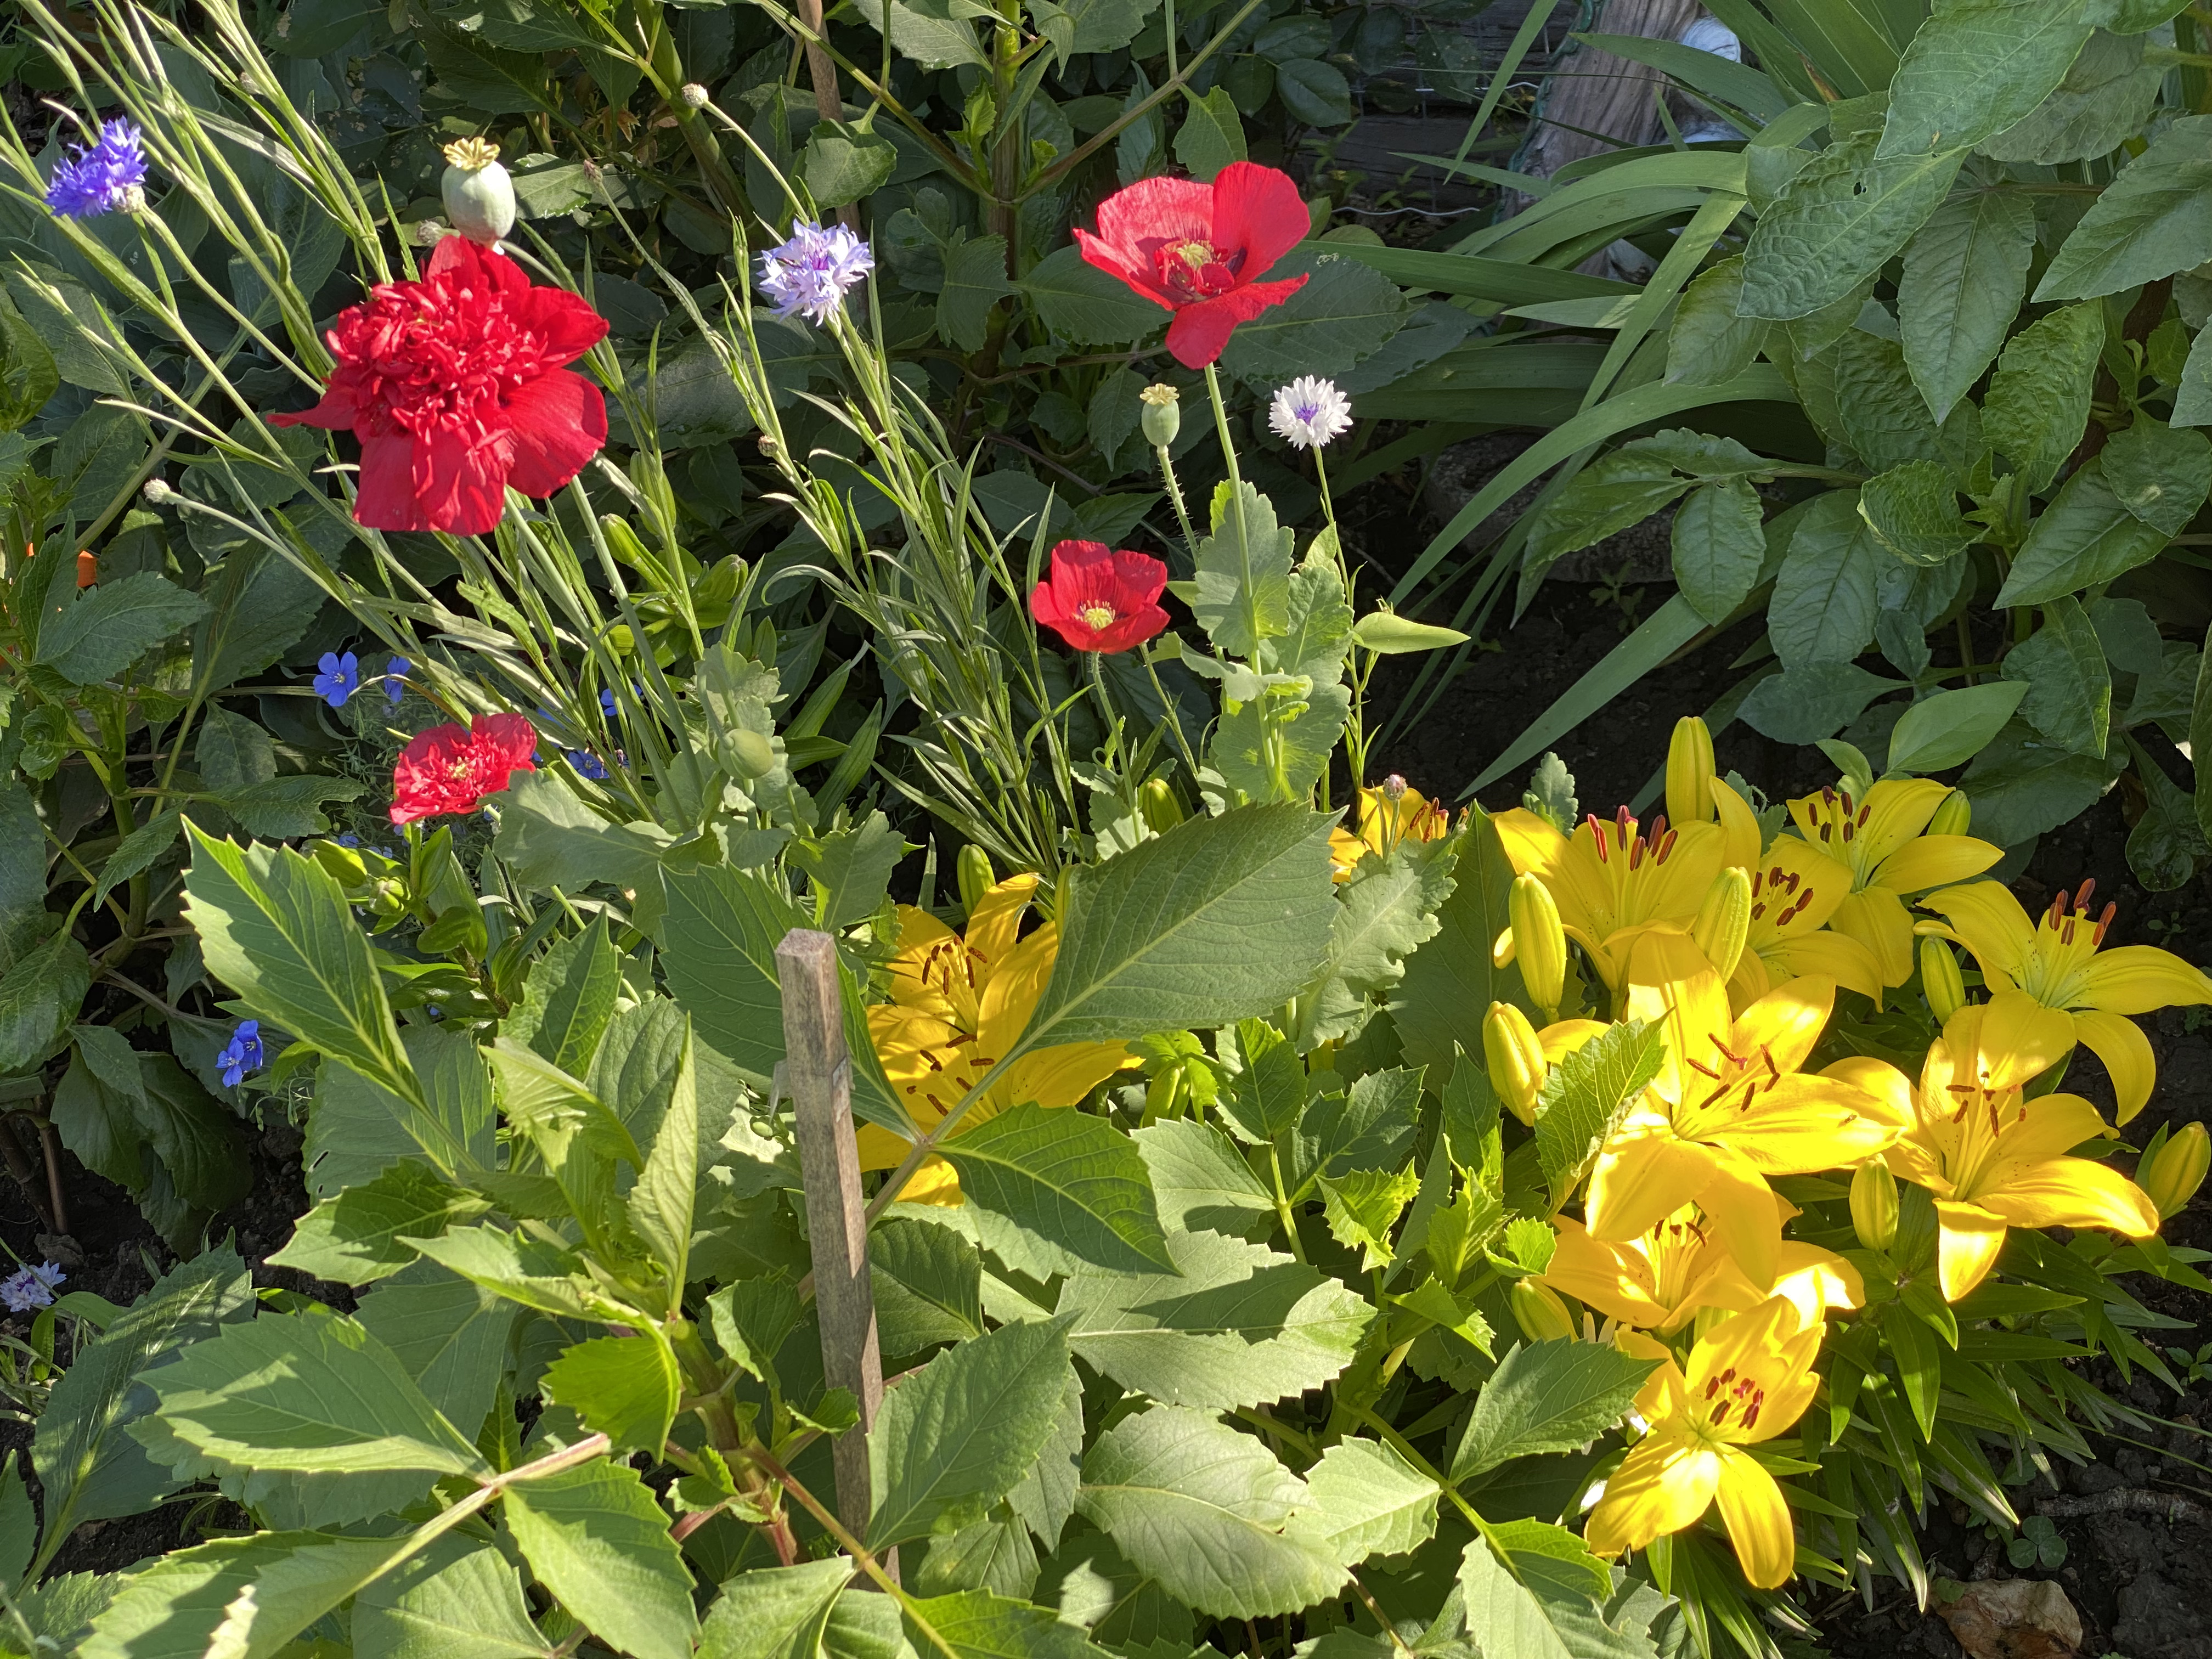
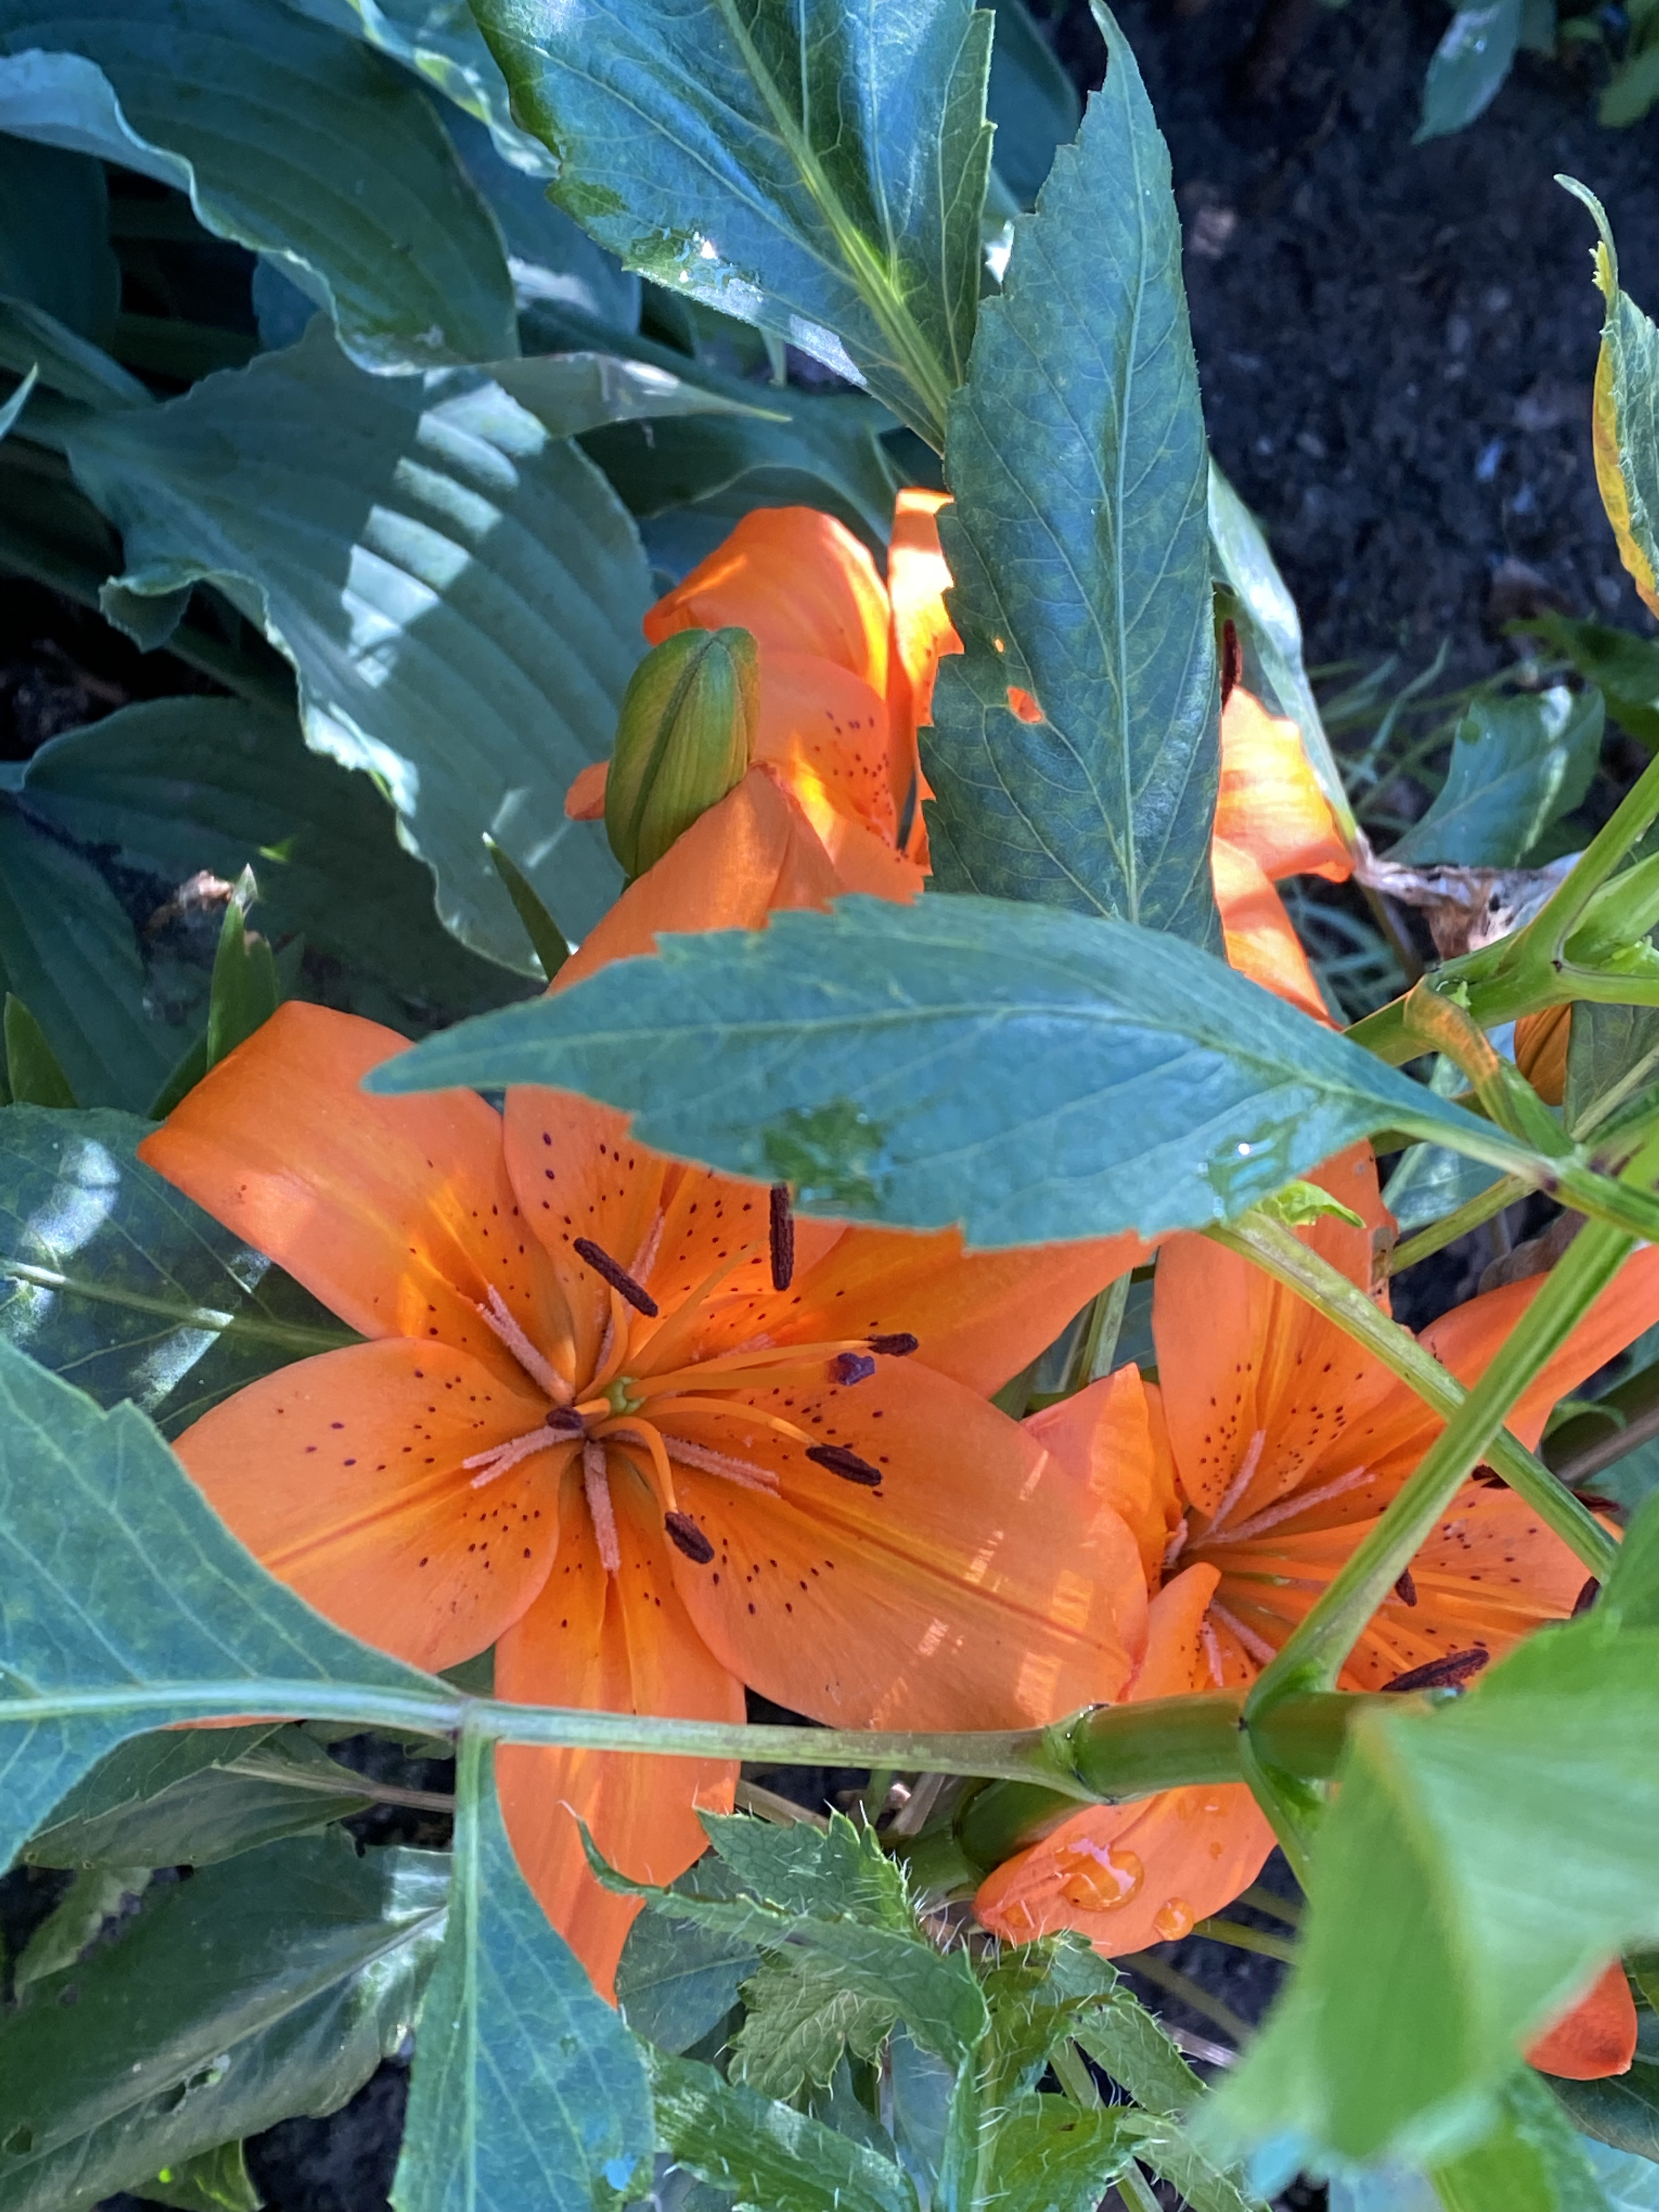
Anticipation is one of the delights of gardening. Each seed placed in the soil, each small plant tucked in the ground, is a hopeful action.
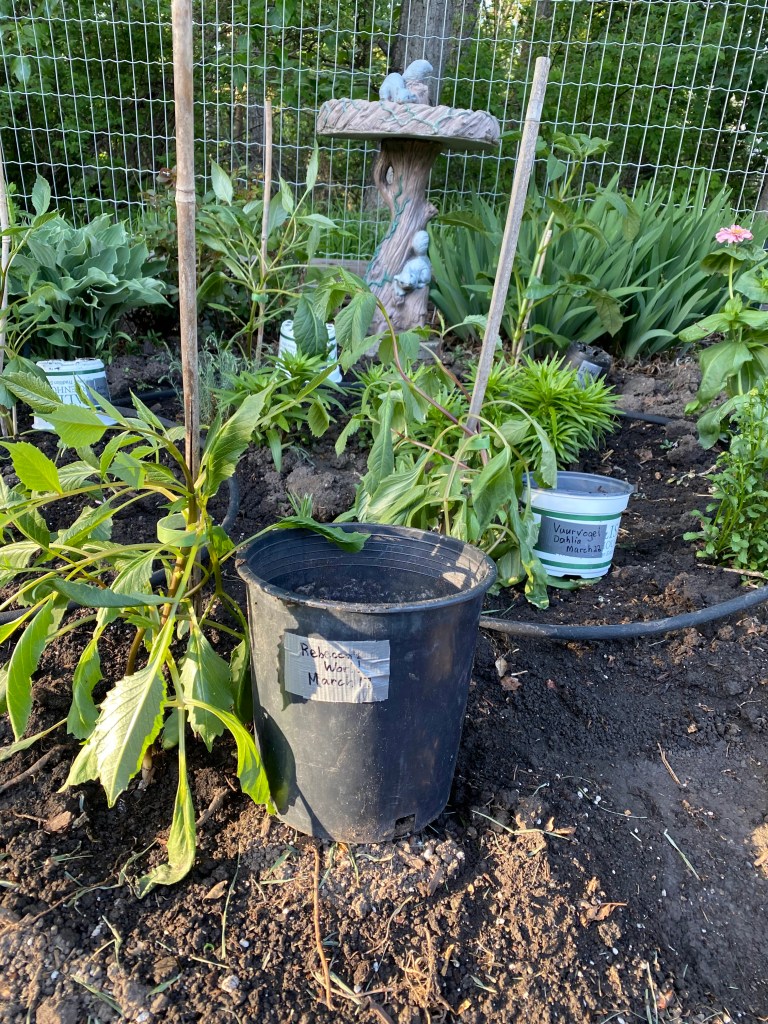
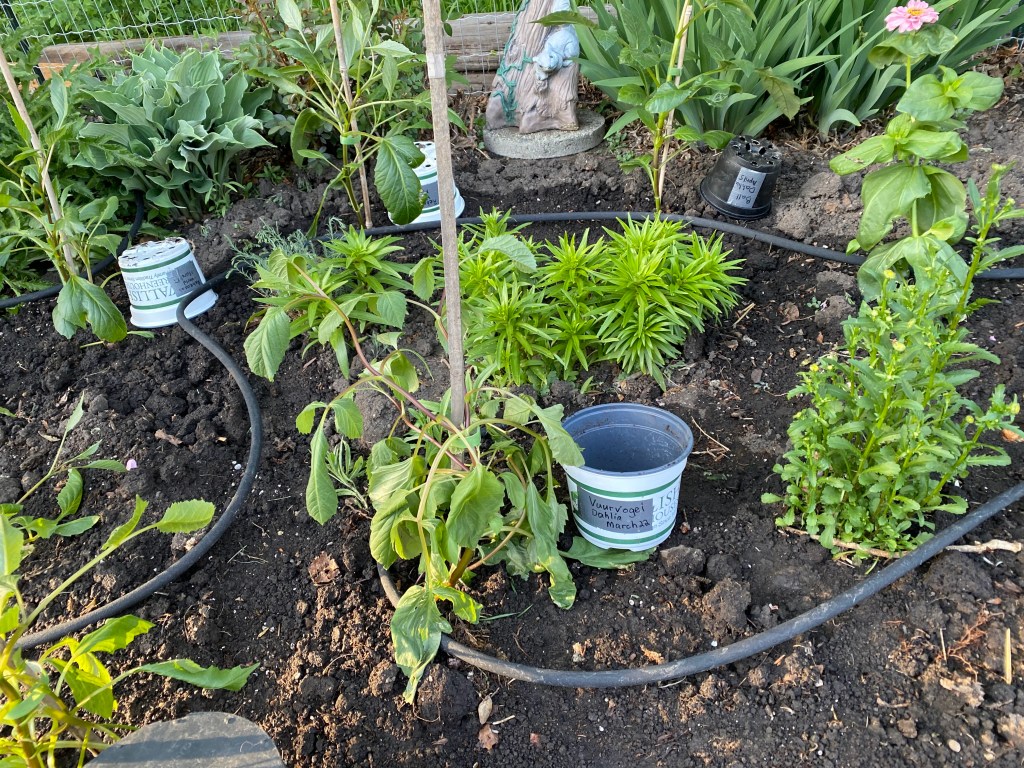
I started my indoor garden far too early and the result was big plants ready to be outdoors and a cold spring that did not accommodate this. So I faithfully carried them outdoors and in when the nights to the end of May were too cold, 2° C in our community. I also need to rely on a friend to water almost EVERYDAY!, while we were away. I am gifted with wonderful friends.
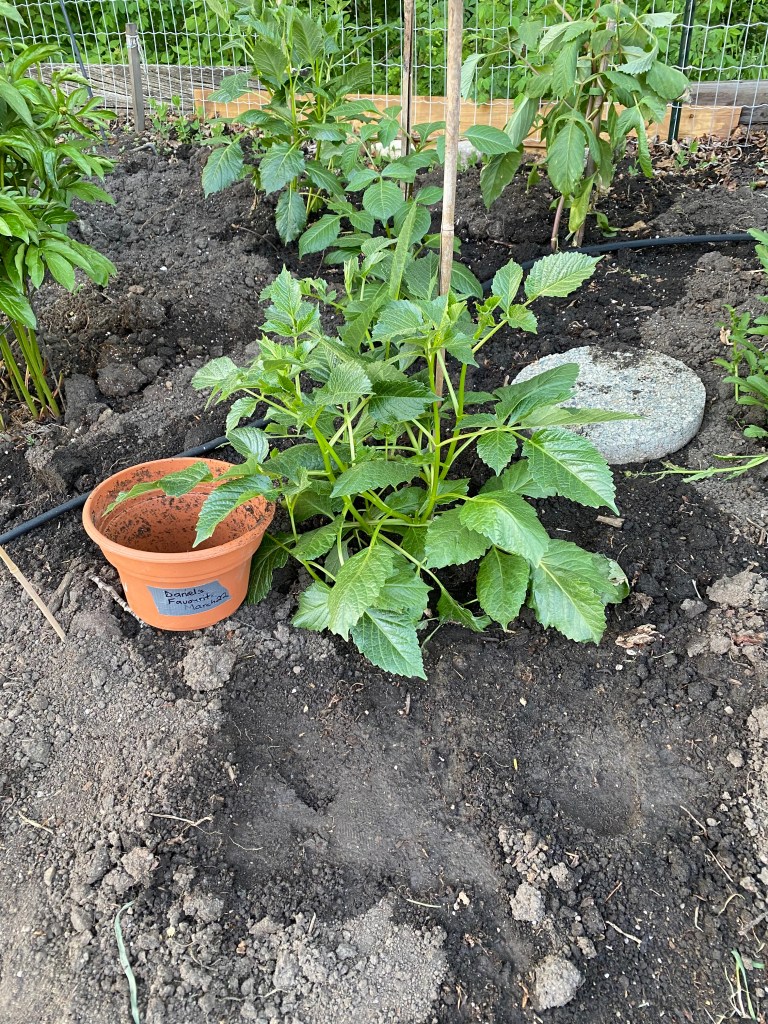
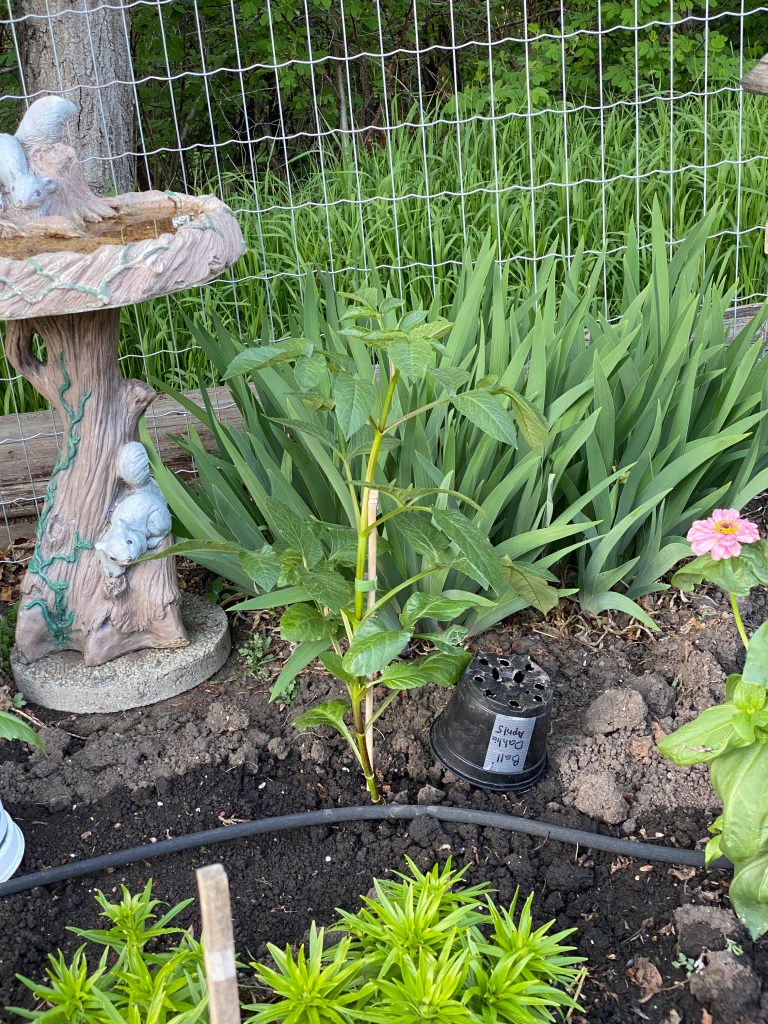
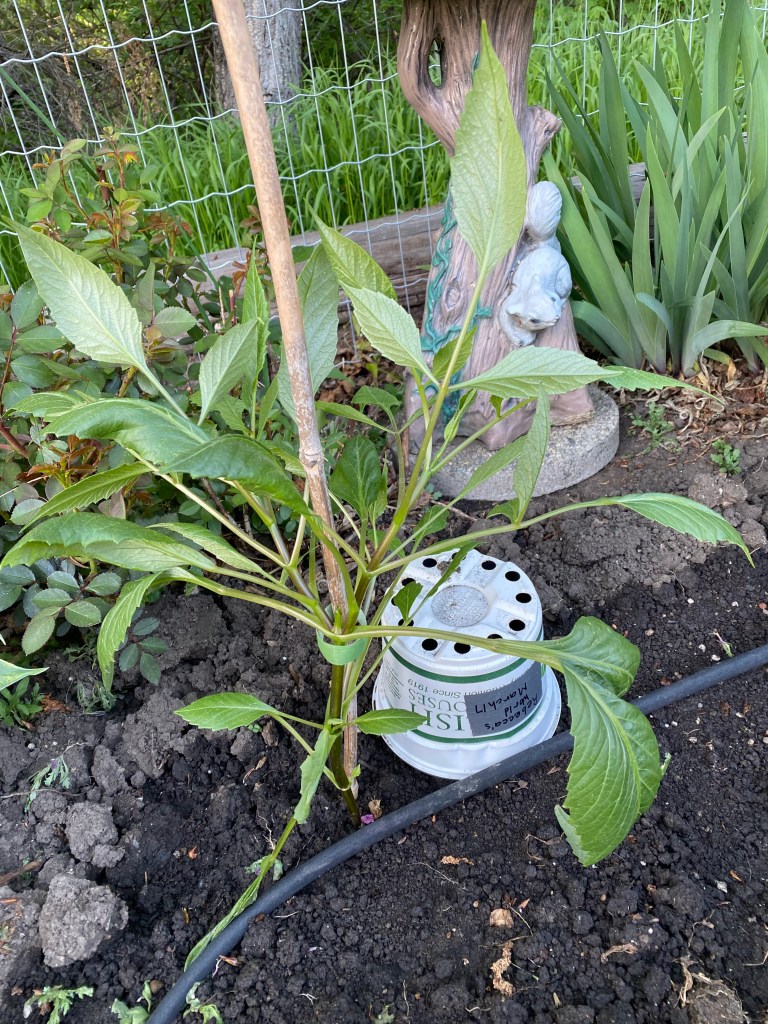
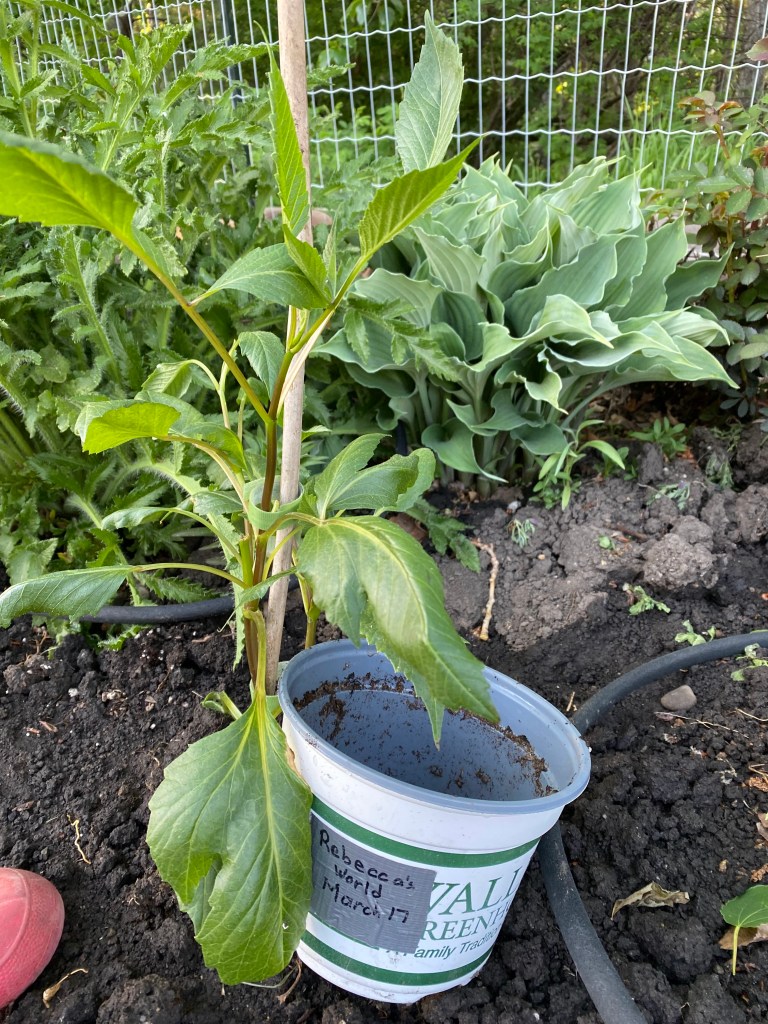
Dahlias (2 – Vuurvogel, 2 – Daniel’s Favourite, 5 – Ball, 4 – Rebecca’s World) All started indoors. Started March 15th and April 5th |
3 – Dahlia tubers planted outdoors May 14. So far one is now showing leaves. |
9 – Tall Zinnias (28 to 36 inches) |
6 – Short Zinnias (10 to 12 inches) |
6 – Starfire Tomatoes |
8 – Tiny Tim Tomatoes |
2 – Pickling Cucumbers |
3 – Long Green Cucumbers |
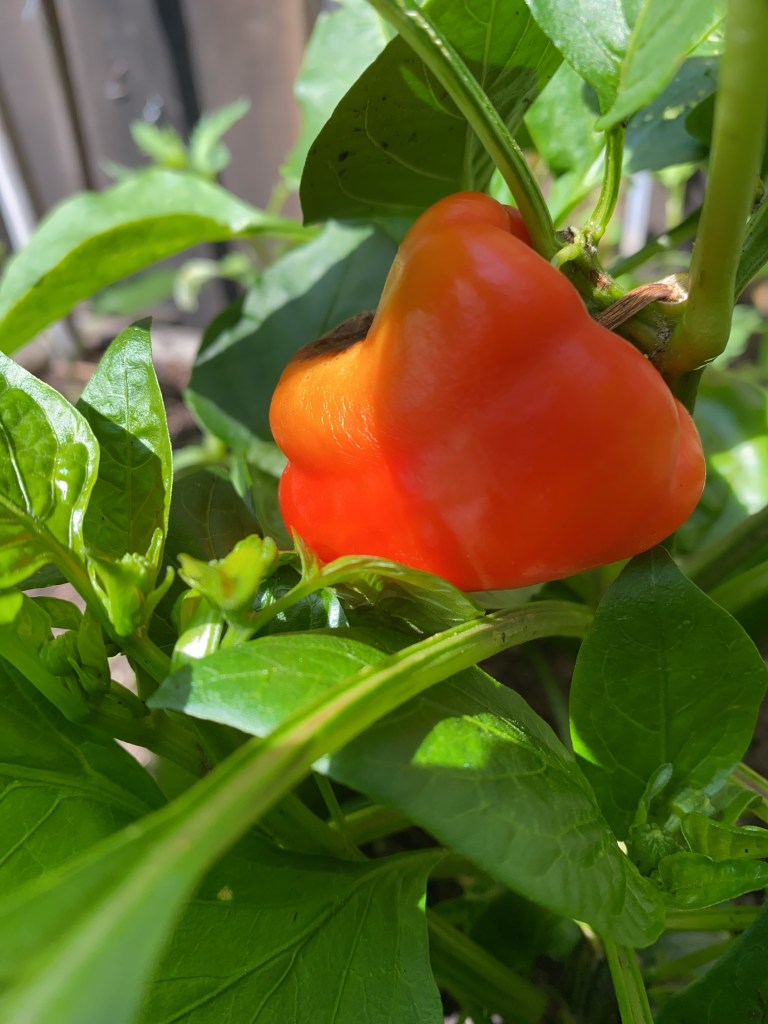
1 – Yellow Pepper |
2 – Tomatillos |
3 – Cosmos |
3 – Columbine |
10 Freesia Mix planted May 14 – still to come up |
Ranculus – 7 are up and Planted on May14. 6 Persian Buttercup and 10 Sensation Persian Buttercup from Vessy’s. Also, 10 Ranculaus purchased at Salisbury. |
Sweet Peas- seeded in the garden April 28 and also started indoors and planted out early May |
Scarlet Runner Beans – seeded early May and growing well. |
Peas – Planted April 27 |
Carrots – planted April 30th |
Beets Planted April 30th |
2 – Lavatera – |
And so the garden journey continues. I plan to post progress here. Looking forward to flowers blooming in my garden.
Grade three students in my online class are currently learning how economic factors shape communities.
I begin by creating a video using Screencastify, a Chrome extension, to introduce this tool so that students can become familiar with the possibilities. During our regular online class, we explore My Maps together. Students learn how to access and find My Maps and how to begin inserting pegs, photos, and text. Later they can refer to the video to guide them as they try it on their own. After our exploration in an online class and the video in our online course, I will give students this assignment.
When you are ready, go to Google Drive to create your own My Map.
Follow the steps in the video to create your own map.
Name your map with your name and the title, Goods from Around the World.
Add a peg for each country, India, Ukraine, Peru, Tunisia.
Your textbook is one resource to find out about the natural resources, goods or technology in each country.
Add photos of goods produced by the country with each peg you add.
Write to tell more about what the country produces.
Share your map with me.
My Maps is an application that is easy to use and provides so many opportunities for learning and creating. Imagine the connections to literacy, math, science, history, art that students can make. I am curious to hear about creative ways your students will use this geo-tool. For more ideas take a look at Bring the World To Your Classroom by Kelly Kermode and Kim Randall.
I am inspired by fellow educators who are busy figuring out ways to continue connecting and working with students. I am grateful to be in a profession such as this.
We’ve had an abrupt and dismaying change in our lives, yet my colleagues are determined to move forward with learning in a new way. Sometimes it just brings me to tears. Which may also be part of my emotional state at the moment.
How to get started with online learning?
You already have the best start ever. Why? Because you know your students. You have had the opportunity to see their faces every day. You know their quirks, their strengths their interests and nothing, nothing is better than that.
You already have a community of learners. So take a breath and think, how can I keep that connection going?
What tools can you use? Start as simply as you can with an online tool that you are familiar with. Your students need to learn how to use that tool, so begin there. That’s the first step, and if they’re young learners, as mine are, they will need the support of an adult to navigate this way of connecting.
Maybe create a video that shows them how to access and use the digital connection you want to use. And when it comes to videos – it’s you they want to see. You are their teacher so be yourself and if the video isn’t perfect – great! You will bring a smile to your student’s faces.
When I first began teaching as an online educator I felt that this computer was a barrier to connecting with my students. It was a challenge to overcome. It’s true, that things may take longer to establish in an online learning environment, but you will once again have opportunities to see the spark of joy that comes when students learn new things.
If there is one thing I have observed, it is that young learners are very capable of using digital tools for learning, and this has changed the way I teach. Digital tools have become more intuitive and friendly, and young learners are also increasingly familiar and adept at using technology in their lives.
Inspiration! Once again gathering with my colleagues, participating in great sessions and connecting to new ideas, meant that this was another enjoyable and worthwhile teacher’s convention.
I use photographs in my classroom as a way for students to share what they have learned and as a jumping off point for stories and further reflection. Our lives are filled with stories and each day our learning is a story of its own. Kristy Wolfe’s session, Making Learning Visible: Photographing and Co-creating Learning Stories, had appeal from the start. Kristy Wolf, a woman with a passion for photography and story telling shared her knowledge and her love of kids’ learning through imagery that tells a story.
To tell the story in a meaningful way, begin by thinking about the photos you need, before your eyes look through the lens. Think about the shots that will capture the moment. Look for opportunities to capture these parts of the story.
Consider the action, the individuals and the group. What is happening? Who is interacting with another or the project? And even, who is on the outer edges looking in? Composing a photo is always the trick. Just what do I need to include in that image? What angle? What lighting? What is the relationship in the moment? What will this image say to viewers? How will the elements of this scene offer new ways of understanding and perspective?
Kristy suggested using 10 to 15 images to tell the story and to aim for visual variety.
Now imagine that it is not you, it is the students making these decisions about how to tell their learning story. Have students write about the photographs, they chose. I’ve had fun doing this with my students and just as Kristy mentioned, students don’t chose the photos that you think they might pick. They have their own ideas about what counts. Which makes me think, to whom do we make learning visible? Co-creating learning stories, was the part of her session title that grabbed my attention. It excites me to think of using photography to help students make their learning visible to the most important person of all, themselves.